Sunday, 20 November 2011

Easy Sticky Buns.

I have been meaning to make these for a while after seen Ina make them on the barefoot contessa and as we have a whole host of people coming to stay for the weekend this seemed like a good opportunity. I found the actual recipe on Gimme some oven but it is the one from the show. I love the barefoot contessa but alway baulk at cooking her recipes as although I know that they will be delicious they usually start with a whole packed of butter. I also made some double chocolate chip cookies but they did not last long enough for me to get a photo so I will have to make them again later.


Ingredients:


1/3 cup light brown sugar.
1/2 cup pecans or walnuts, chopped in very large pieces.
1 pack puff pastry, either pre rolled or rolled to about 1/4inch thickness.
100g Butter.


2/3 cup light brown sugar, lightly packed
3 tsp. ground cinnamon
1 cup raisins (optional)
12 cup muffin tin.

Method:
Preheat the oven to 200C or the second shelf of the aga roasting oven. Make sure butter is soft then mix it with the third of sugar until it is a paste. Split the mixture between the bottoms of the 12 muffin pans. Distribute the nuts between the pans on top of the sugar and butter.
Roll out the pastry. Sprinkle the rest of the sugar over the pastry with the cinnamon. At this point you can add any combination of more nuts or raisons that you fancy. Roll the pastry back up with the sugar etc inside. Next slice the roll up into 12. Place each swirl with the swirl facing up into one of the pans on top of the nuts and butter.
Bake in the oven for about 30mins. Once out of the oven leave to cool for about 5mins then up turn the whole pan. You should probably do this onto baking paper or tin foil. Some of the nuts will fall off at this point just put them back onto the top and once the sugar has cooled they will stick.


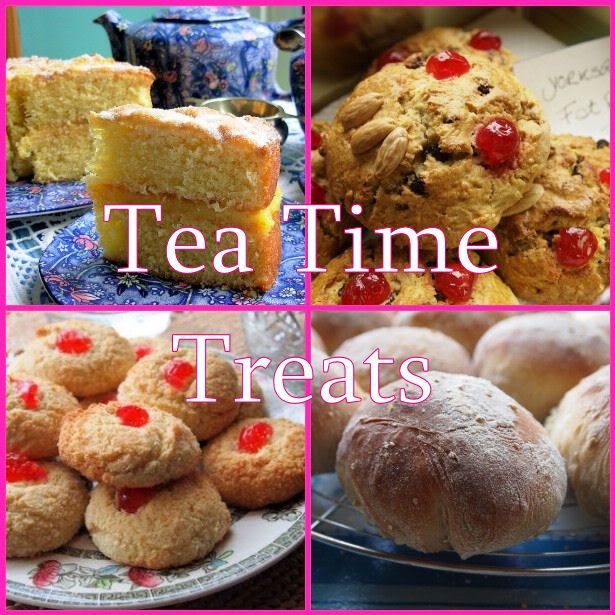
I am retrospectively entering this recipe into Tea Time Treats which is being hosted this month at Lavender and Lovage and What Kate Baked.


Monday, 14 November 2011

Lola's Copper Biscuits.

The Great Food Blogger Cookie Swap 2011

I stumbled across this cookie swap on an american blog I'm afraid that I cannot remember which one but it is being organised Love and Olive Oil and thought that it was a fabulous idea so I entered straight away. There are two problems with this though: firstly being that I'm just a little bit of a perfectionist when it come to serving my food so I going to have to make so many batches to get three dozen I am happy with and secondly I am useless at making cookies. The always spread far to much and never end up being chewy. Oh well I suppose practice makes perfect. I thought I would start with a recipe I was given by a friend of my mothers. It was a recipe of her mothers and is apparently fail safe. Copper biscuits are essentially some where between a ginger bread and ginger snap. They have the flavour of a ginger snap but the chewy texture of a ginger bread man. If you are a biscuit dunker like me then these are the biscuits for you.
2 1/2 cups Self raising flour
1 cup Sugar
3tbsp Hot water
1tbsp Golden syrup
3oz Margarine
1 1/2 tsp Ground ginger
1 tsp Bicarbonate of soda

Pre heat the oven to 180C or in the aga the grid shelf in the bottom of the roasting oven with a cold self. Rub the margarine into the sugar and flour until you have the consistency of bread crumbs. Next add in the bicarb, ginger, golden syrup and the water. Bring together the mixture into a dough, roll the dough into walnut sized balls and put onto a baking tray. Bake for about ten minutes until golden brown.
For my christmas hampers I added chopped stem ginger to the basic recipe and then dunked them into dark chocolate.


Sunday, 6 November 2011

Apple Tarte Tatin.

I made this for pudding last night as one of my flatmates little brothers is staying and she wanted to have some friends for supper so he could meet them. We don't have a metal handled frying pan in our flat which you need for this recipe as you have to pt the pan in the oven. So I improvised with a shallow Le Creuset pan, which worked well. The quantities are based on a 9inch pan I ended up using significantly more!


Ingredients:


Enough eating apples to fill you chosen pan once they have been peeled and cored. For a nine inch pan this will be about 6 medium sized apple.
4oz unsalted butter.
3/4 cup granulated sugar. I split this half and half with soft brown sugar as I had run out of granulated.

One packet of either puff or shortcrust pastry. If you are making it yourself this is about 8oz of flours worth of pastry. I used puff but I am reliably informed that shortcrust works just as well.

Peel, core, and quarter of the apples. Melt the butter in the pan and add the sugar stir until the two are combined but don't worry about waiting for the sugar to melt. Arrange the apples, however you wish but remember you serve it flipped out so what you will see is the surface touching the bottom of the pan. Don’t worry about the gaps peel more apples if you need to. Place the pan over medium-high heat until the liquid begins to bubble. After 15-20 minutes the juice from the apples will reduce and the caramel will become a deep golden colour. Don't worry if the caramel still looks very thin at this point it will thicken as it cools. Role your pastry out until it is slightly larger than the pan. Place it on top of the fruit and tuck the edges into the pan with a knife. Bake 25 to 30 minutes until the pastry is a golden colour at 180C of for the aga the bottom rung of the top oven but watch it as you may need to put a cold shelf in. Let the tart rest for 5 minutes before flipping it out, this lets the caramel thicken slightly so when you do flip it it doesn't run off the plate but sticks to your tart.